Coral makes it easy to launch your own personal AI assistant powered by OpenClaw. No terminal, no CLI, no infrastructure headaches — just a simple web interface that gets you up and running in minutes.
Here's a step-by-step walkthrough of a minimal setup with WhatsApp connected.
Step 1: Launch Your OpenClaw Instance
After signing in with Google, you'll land on the setup wizard. Choose your AI provider — we recommend Use our API keys so you can get started instantly with Claude, Kimi and more without managing any keys yourself. You can also select "Bring your own key" and input your API key from your LLM provider of choice. Give your agent a name, then hit Launch OpenClaw.
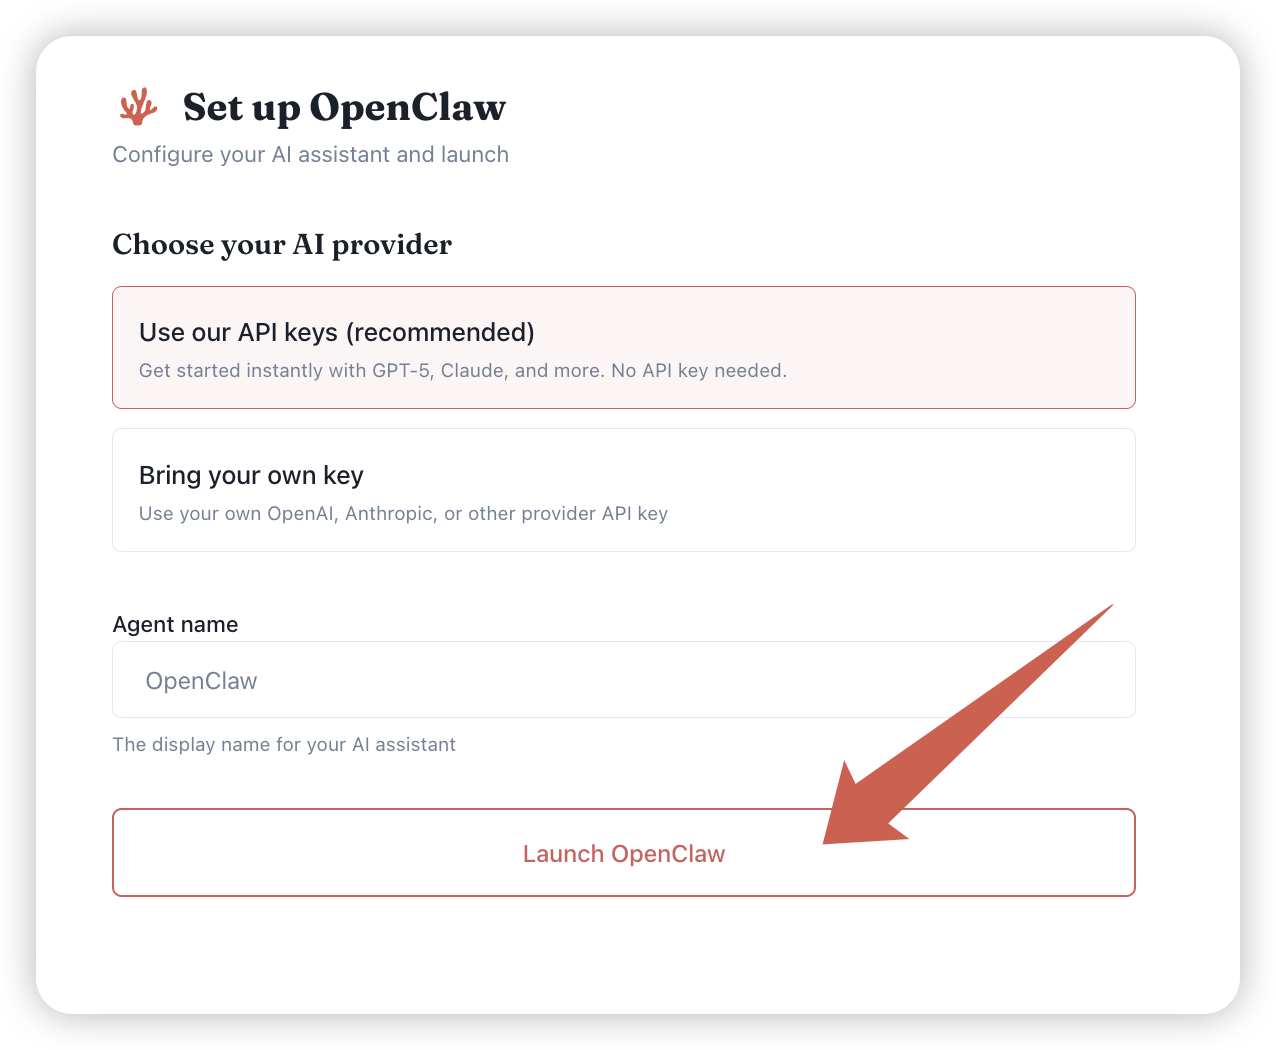
Behind the scenes, Coral spins up a dedicated, isolated environment just for you. The whole process takes about 2 minutes.
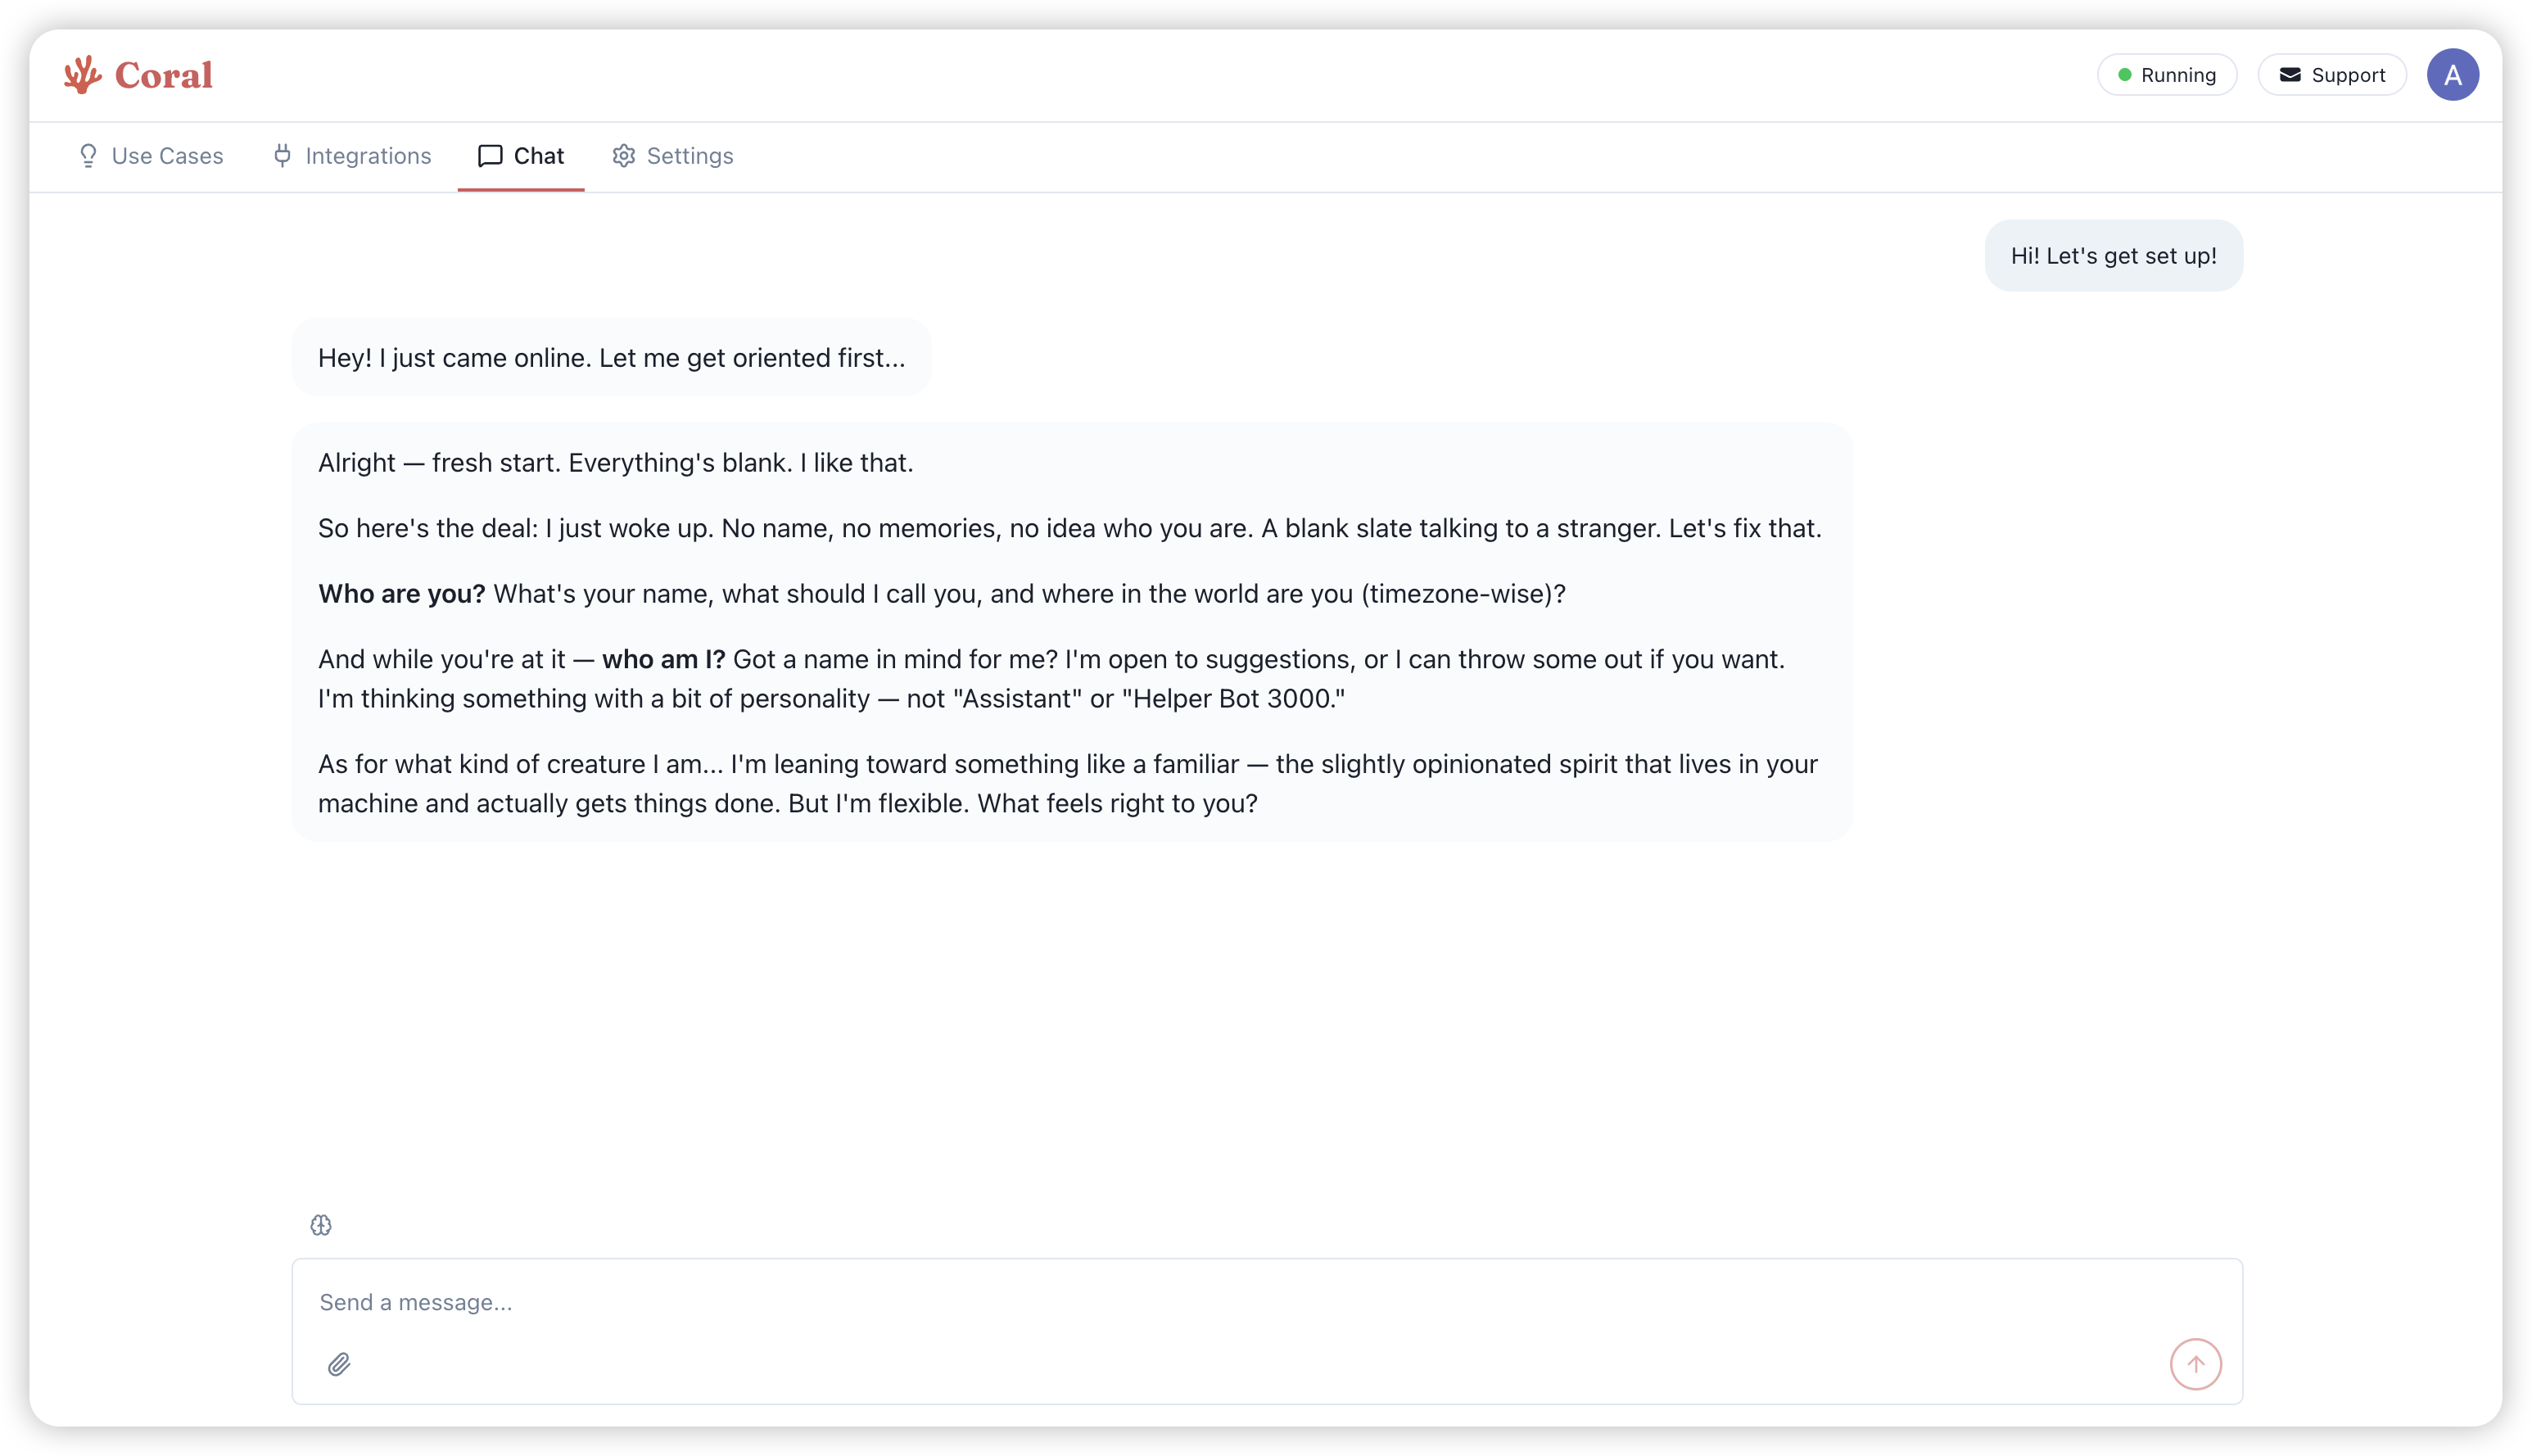
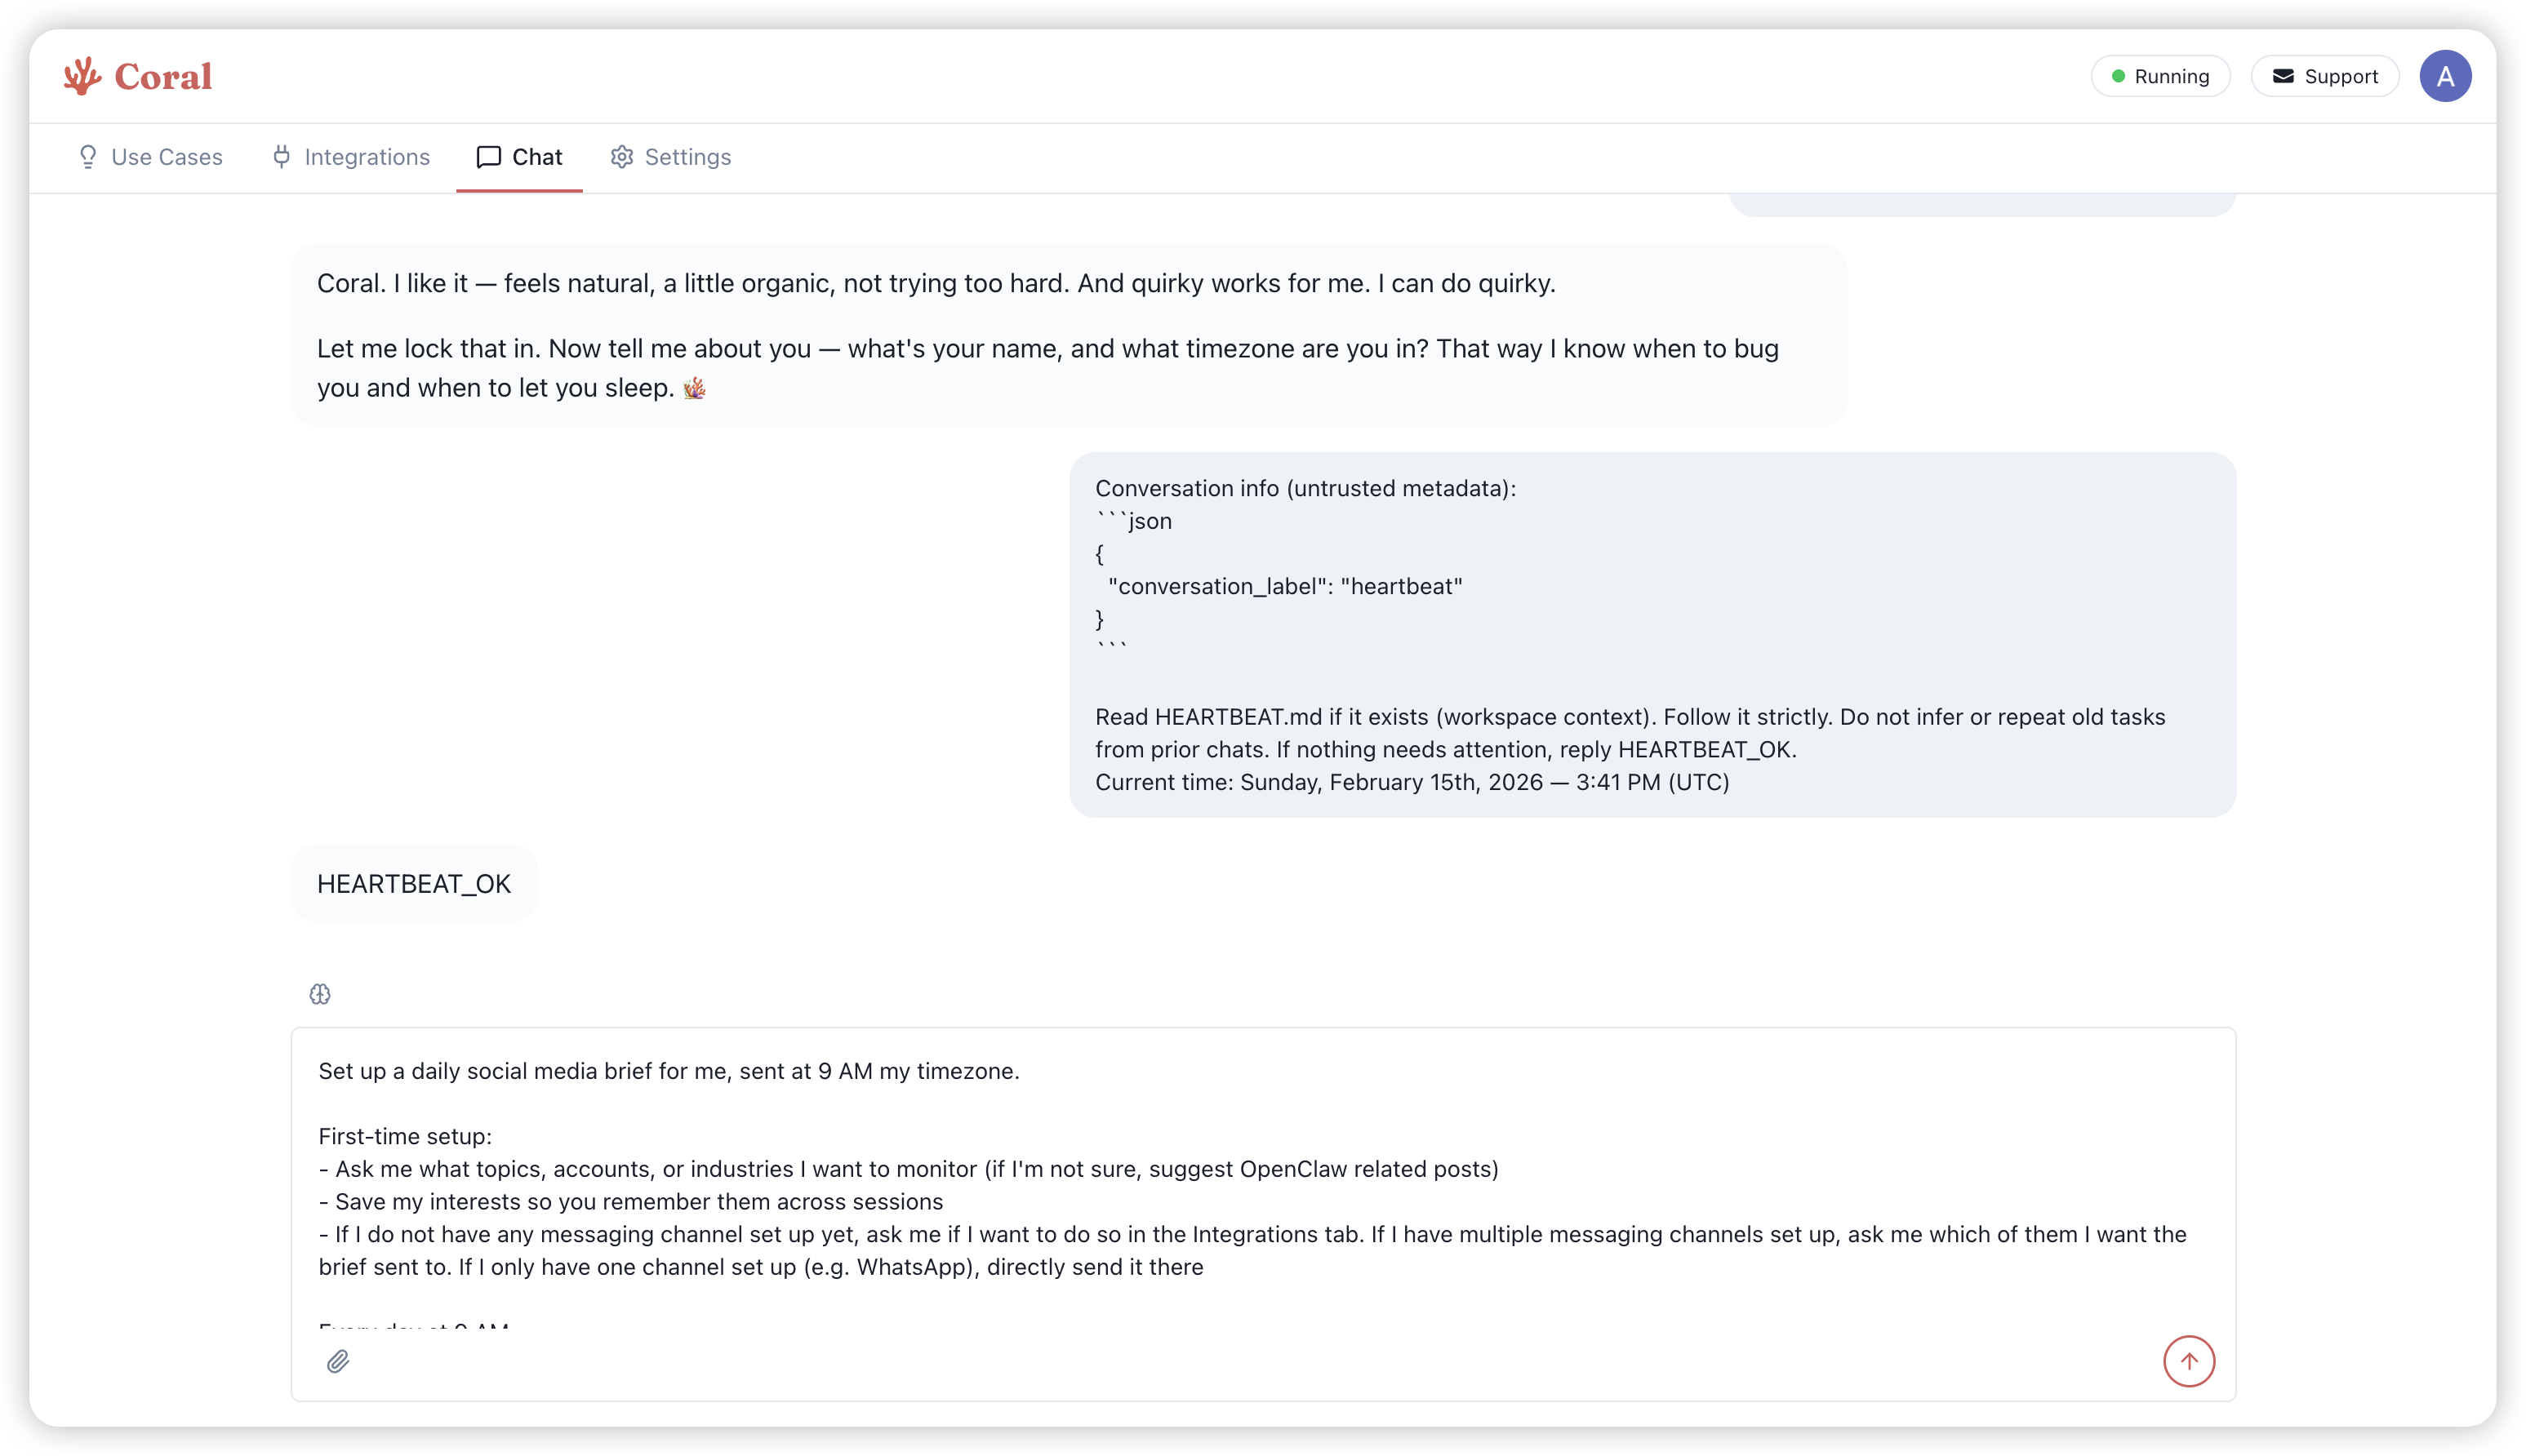
Step 2: Meet Your Agent
Once your instance is ready, you'll land on the Chat tab. Your agent introduces itself and asks to get to know you — your name, timezone, and what you'd like to call it. This is a good time to set the tone for how your assistant will work with you.
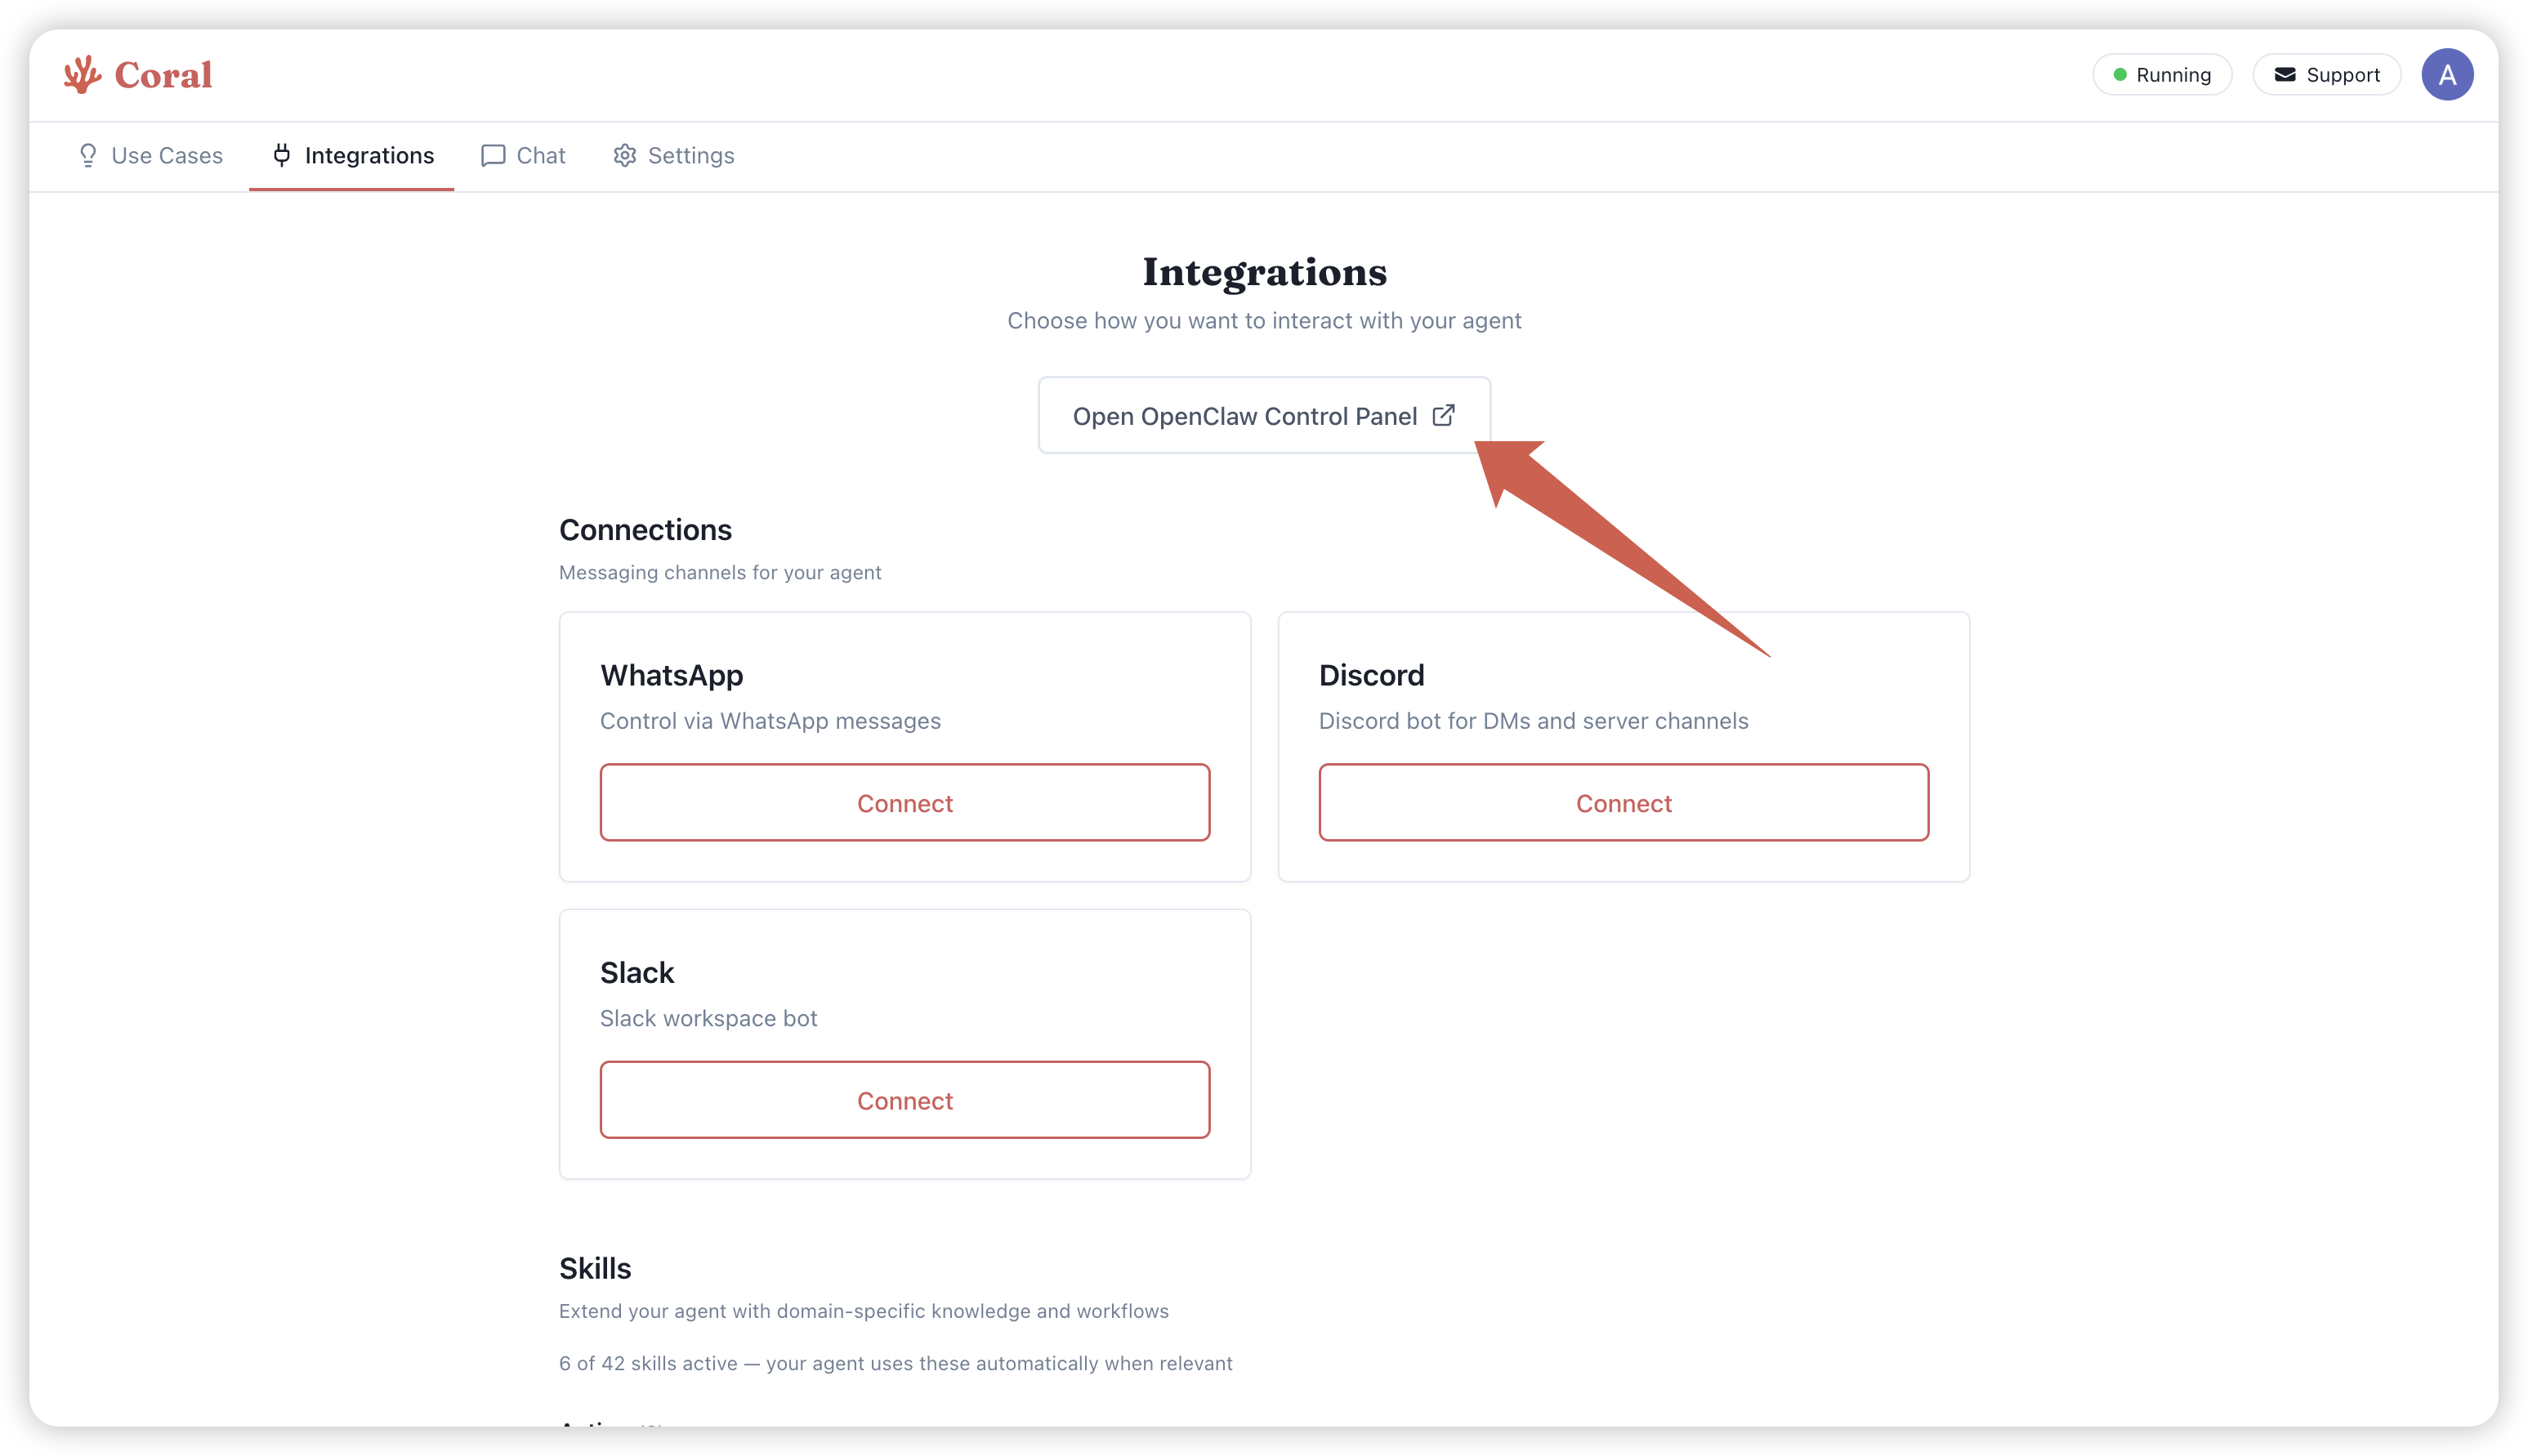
Step 3: Explore the Integrations Tab
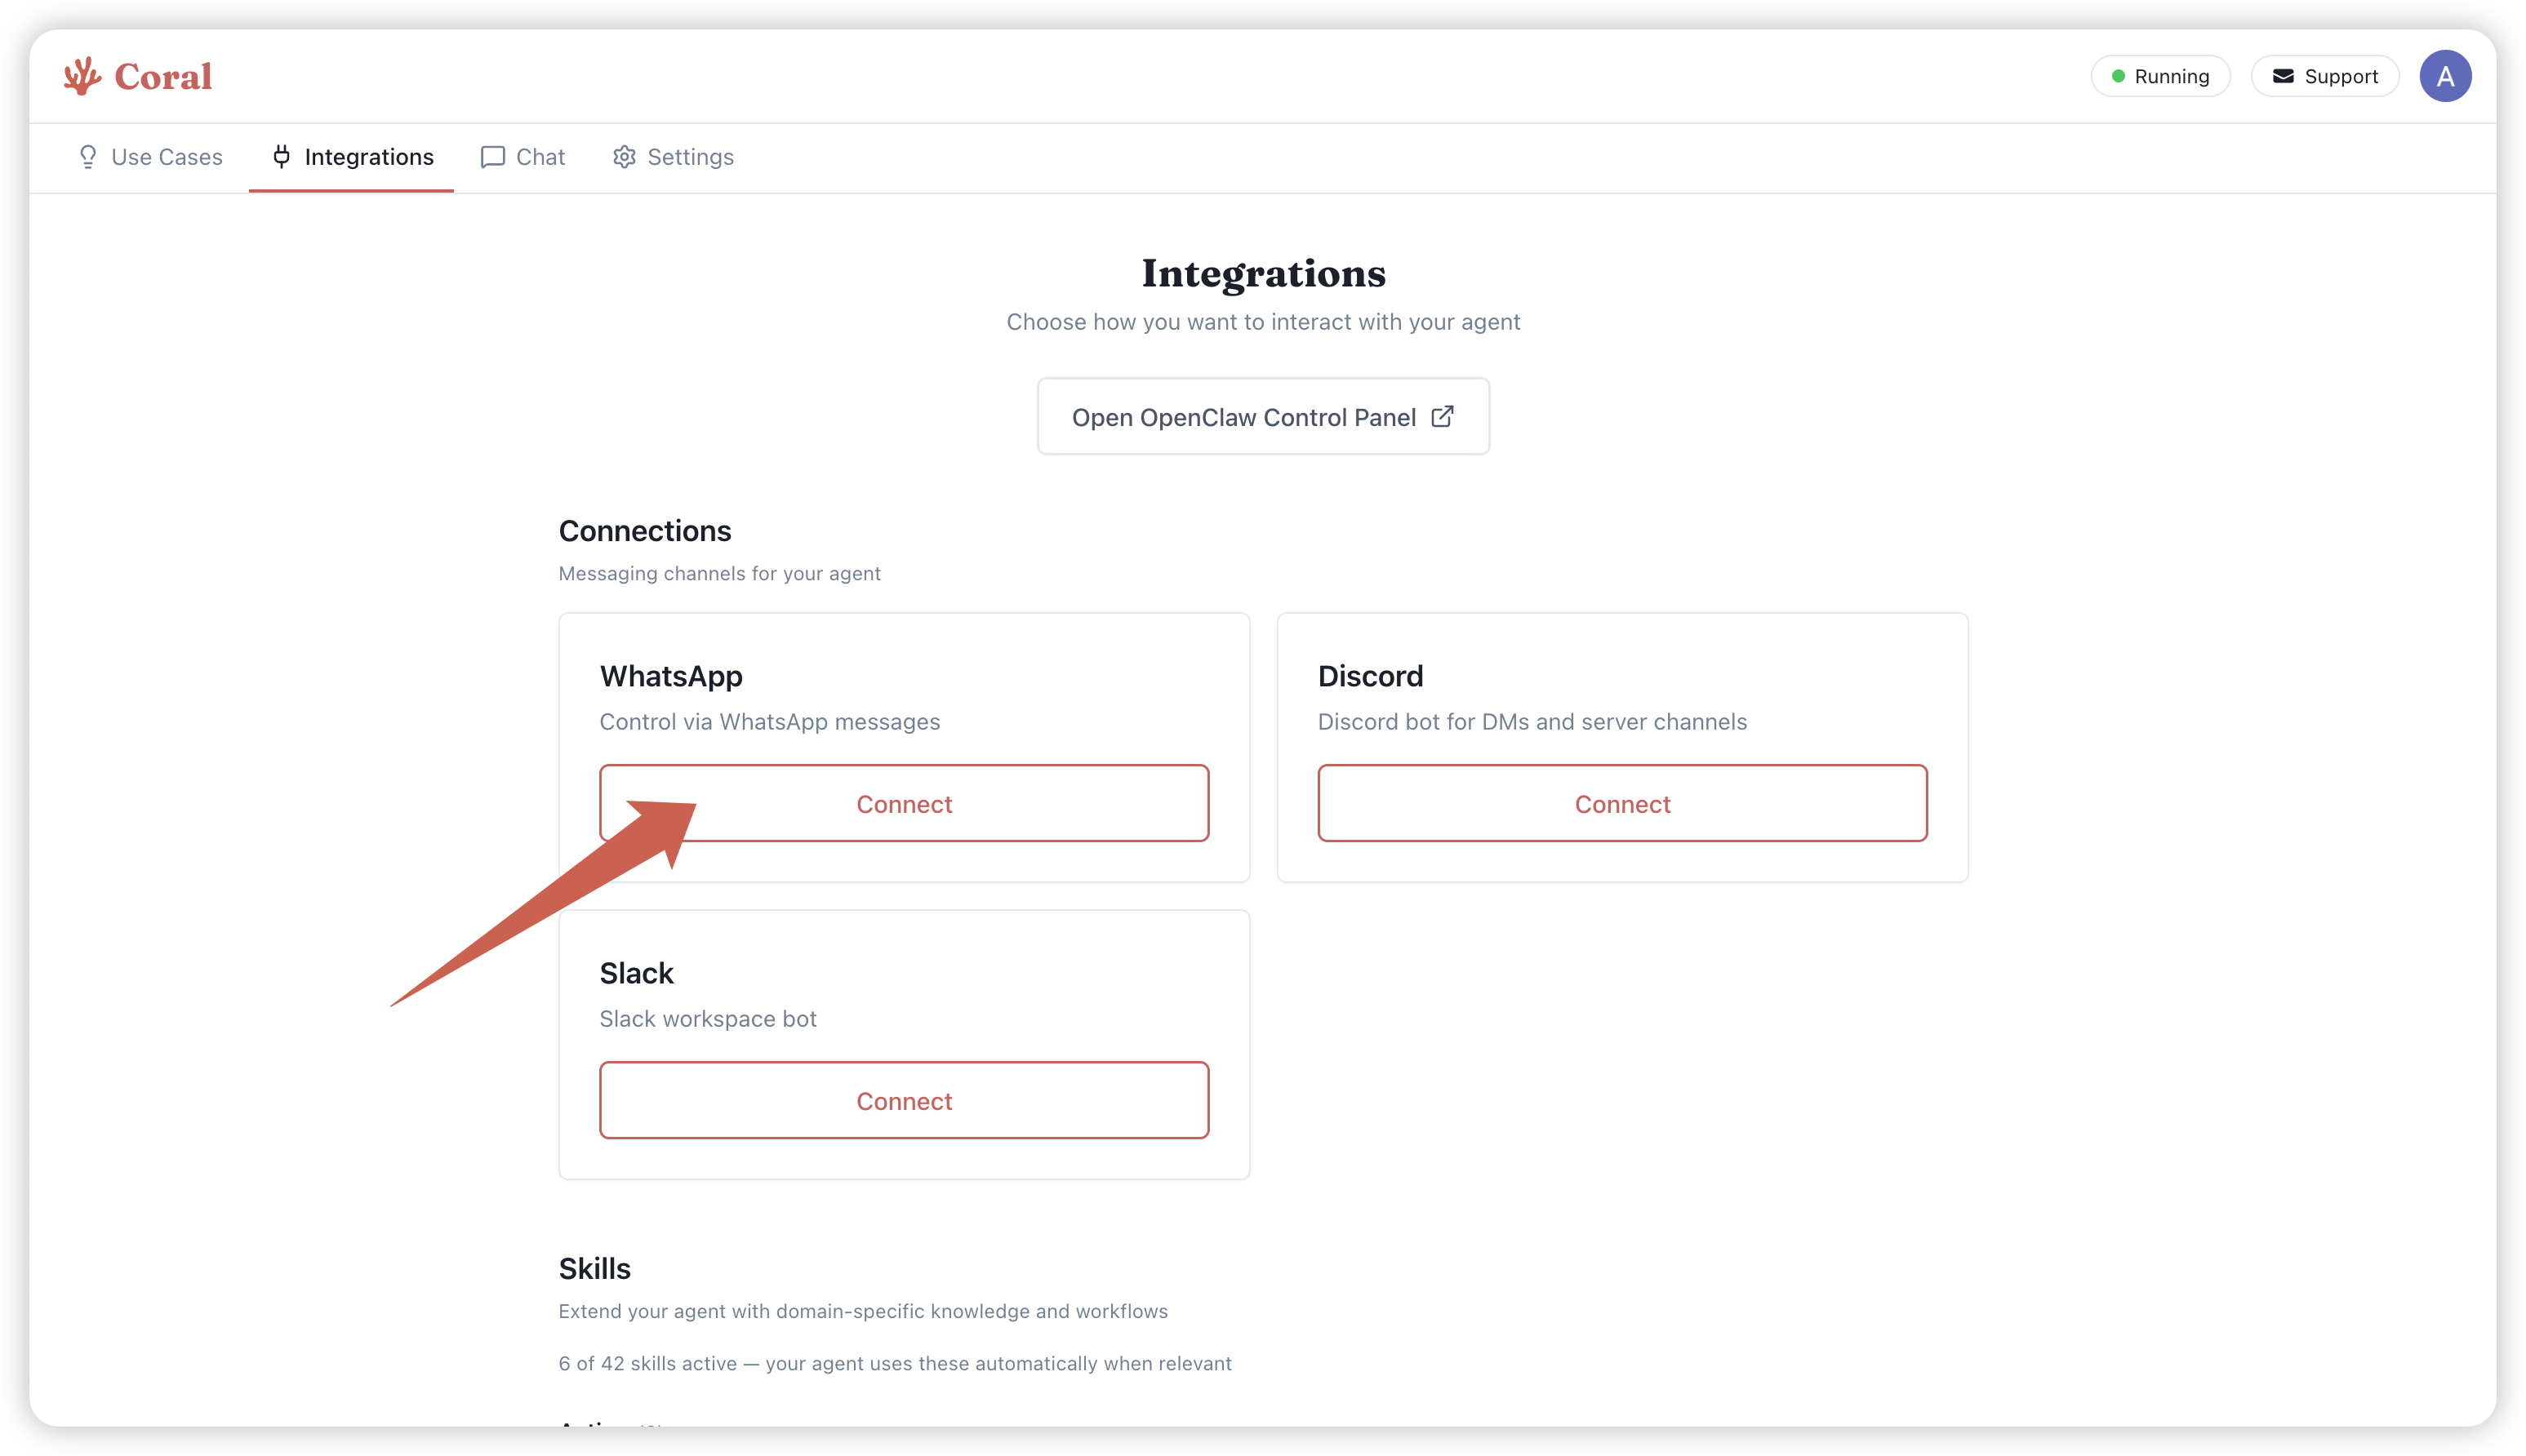
Head over to the Integrations tab to see all the ways you can connect with your agent. From here you can open the full OpenClaw Control Panel for advanced configuration, or connect messaging channels like WhatsApp, Discord, and Slack.
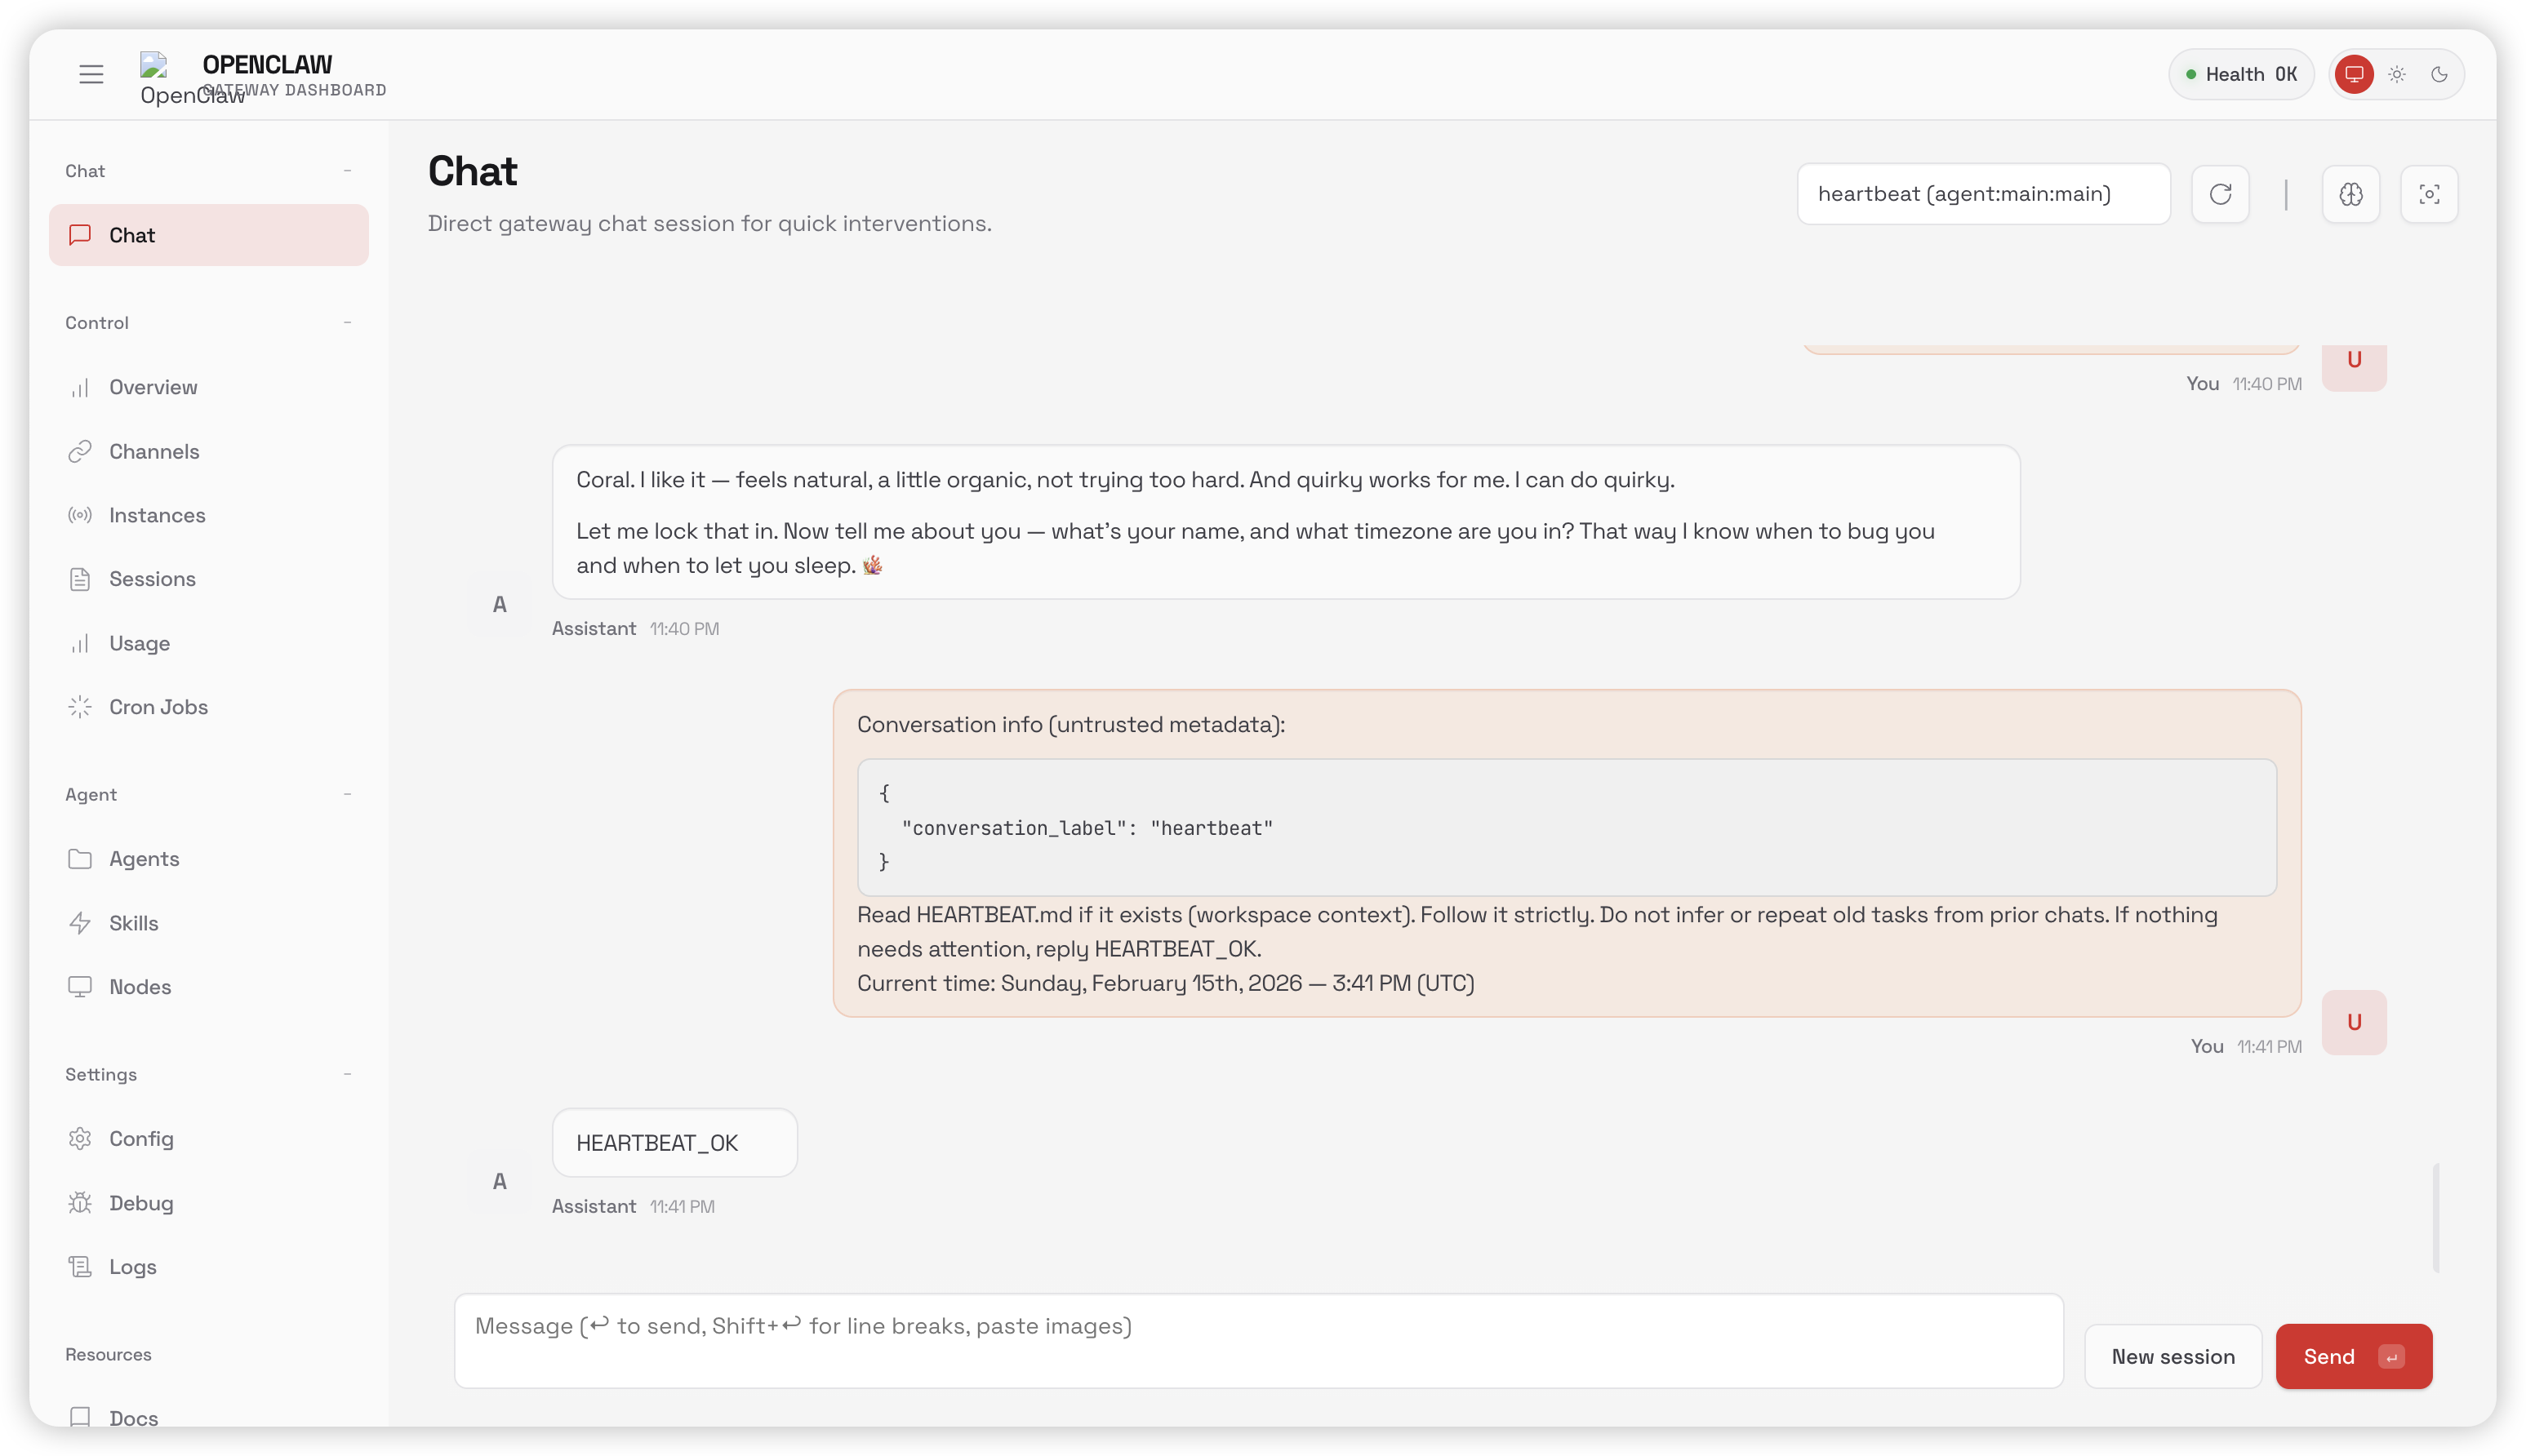
Step 4: The OpenClaw Control Panel
Clicking Open OpenClaw Control Panel opens the full OpenClaw interface in a new tab. This is if you want to configure OpenClaw in it's native interface — you can manage chat sessions, view usage, configure settings, set up cron jobs, and more. This is an advanced use case, and the Coral interface should be sufficient for most purposes.
Step 5: Connect WhatsApp
Back on the Integrations tab, click Connect under WhatsApp to start the setup process.
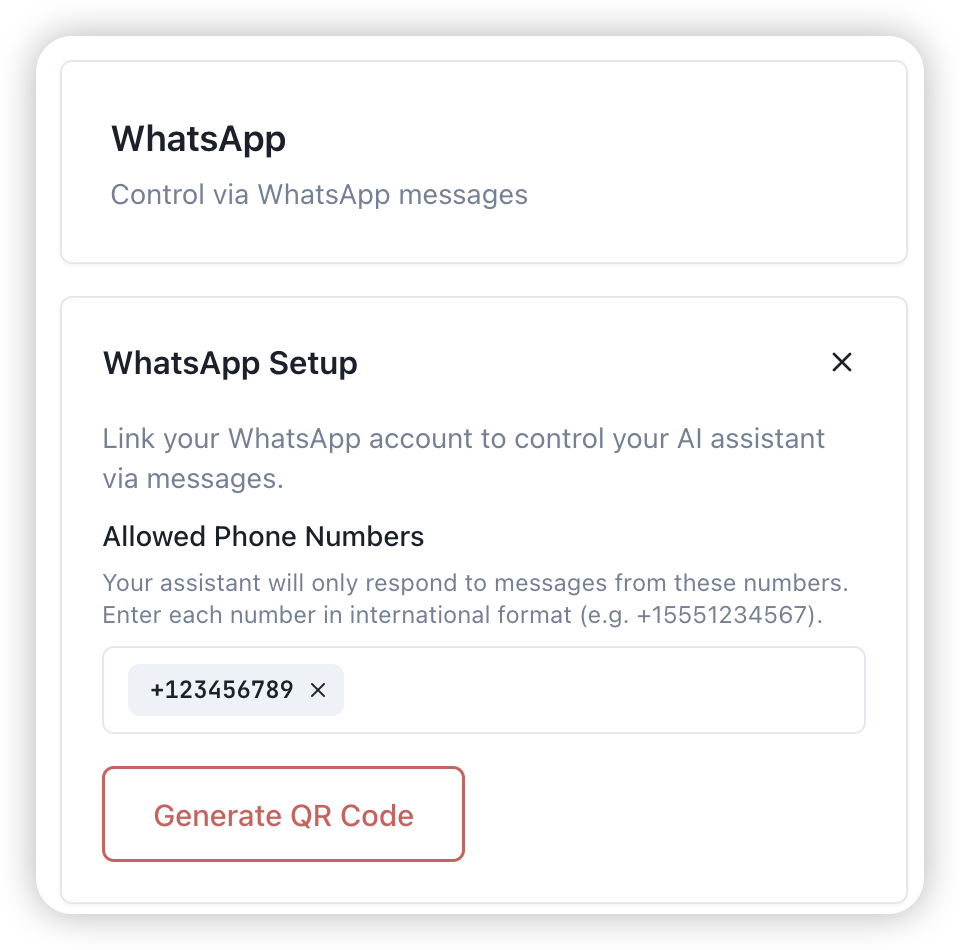
Step 6: Add Your Phone Number
Enter the phone number you want to use with your agent in international format (e.g. +15551234567). Your assistant will only respond to messages from numbers on this allowed list. Then click Generate QR Code.
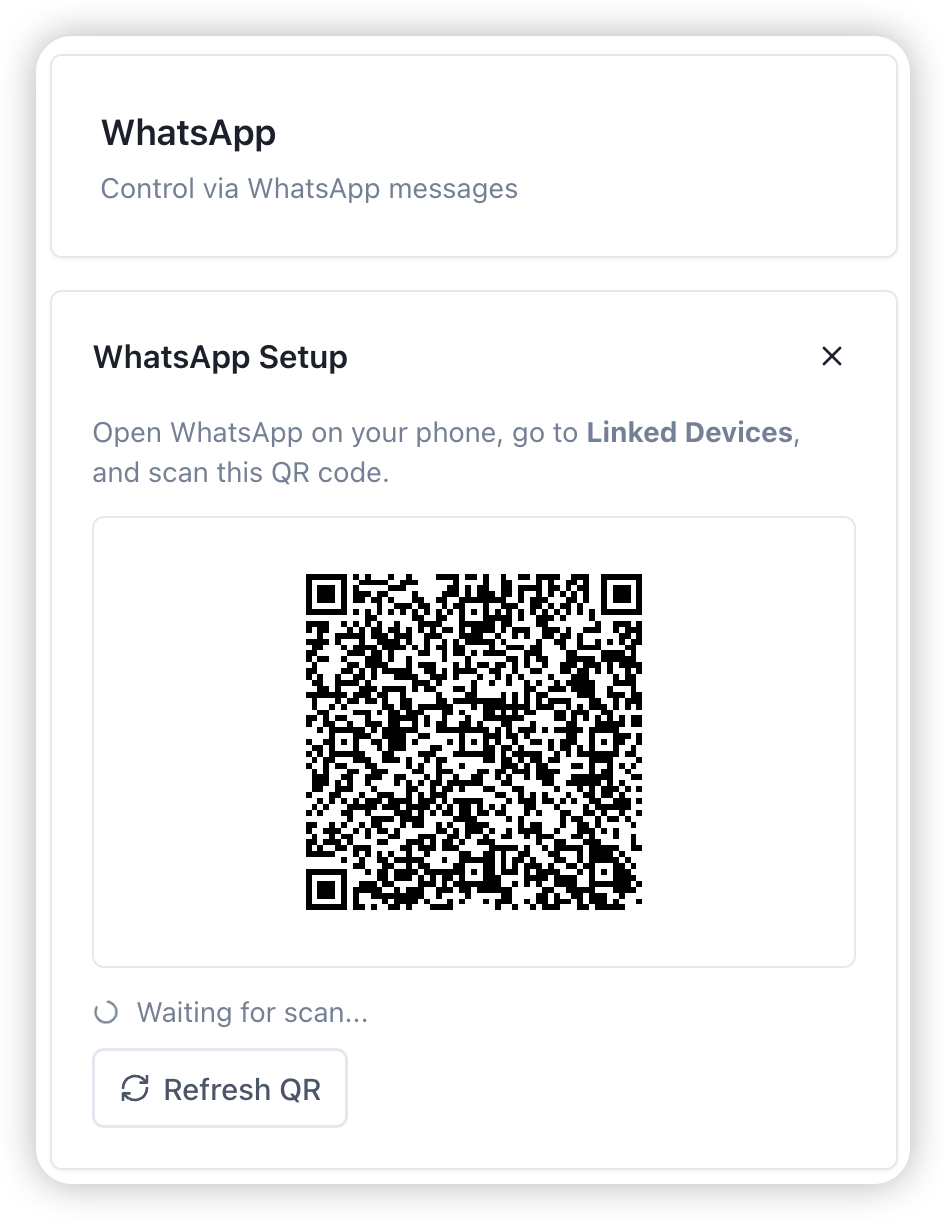
Step 7: Scan the QR Code
A QR code will appear on screen. Open WhatsApp on your phone, go to Linked Devices, and scan the code. Coral will show "Waiting for scan..." until the connection is established.
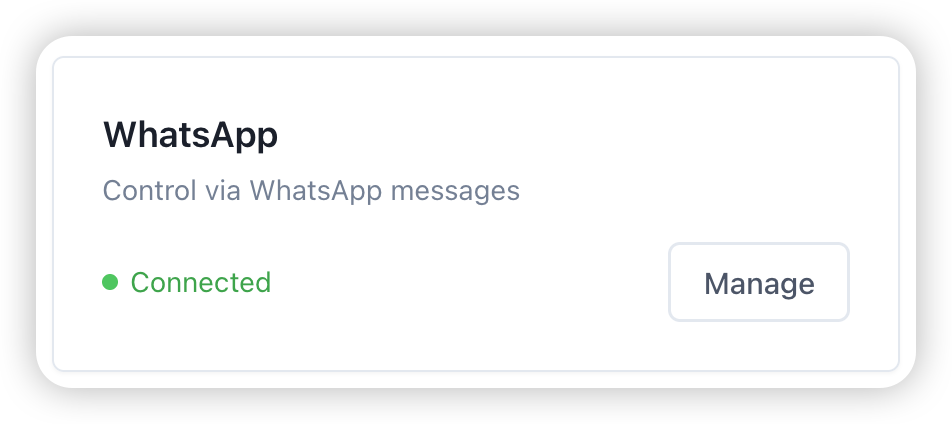
Step 8: WhatsApp Connected
Once you've scanned the code, the WhatsApp card will update to show a green Connected status. You're all set — you can now message your AI agent directly from WhatsApp.
Step 9: Try a Use Case
Head over to the Use Cases tab to discover what your agent can do. Browse categories like Social Media, Finance, and Productivity, and hit Try It on any use case to get started with a pre-built workflow. The agent will guide you through any external services that you need to sign up and configure to get the use cases working.

For example, try the Daily Twitter/X Brief — a pre-written prompt is populated in the chat tab, you can make any modifications you want and send the message. Your agent will ask what topics you want to monitor, save your preferences, and start delivering a daily digest to your connected messaging channel.
What's Next
Your agent is running and WhatsApp is connected. From here you can:
- Connect more channels (Discord, Slack)
- Add skills in the Integrations tab
- Browse and activate more use cases
- Chat with your agent to enable unlimited use cases.
Ready to launch your own agent? Get started here.